If you are looking for a sign to start your own blog and share with your future self or with the world some learnings, experiences and opinions, here it is.
For a long time I wanted to start my own blog but because of other projects I had never even taken the first step. Recently Nicolás Guarín convinced me with an article he sent me, “start a f*ing blog: Go on, do it right fucking now - it’s the best thing on the web you can do.".
🔗 Start a Fucking Blog Go on, do it right fucking now - it’s the best thing on the web you can do.
Thanks to this page I got to know Netlify, a free platform developed to host and manage web applications that includes custom domains and works quite well for personal projects and static websites such as blogs, image galleries, portfolios, among others.
How did I start my own blog from scratch?
First, I looked for a free template that would allow me to get started easily. At jamstackthemes you can find many options.
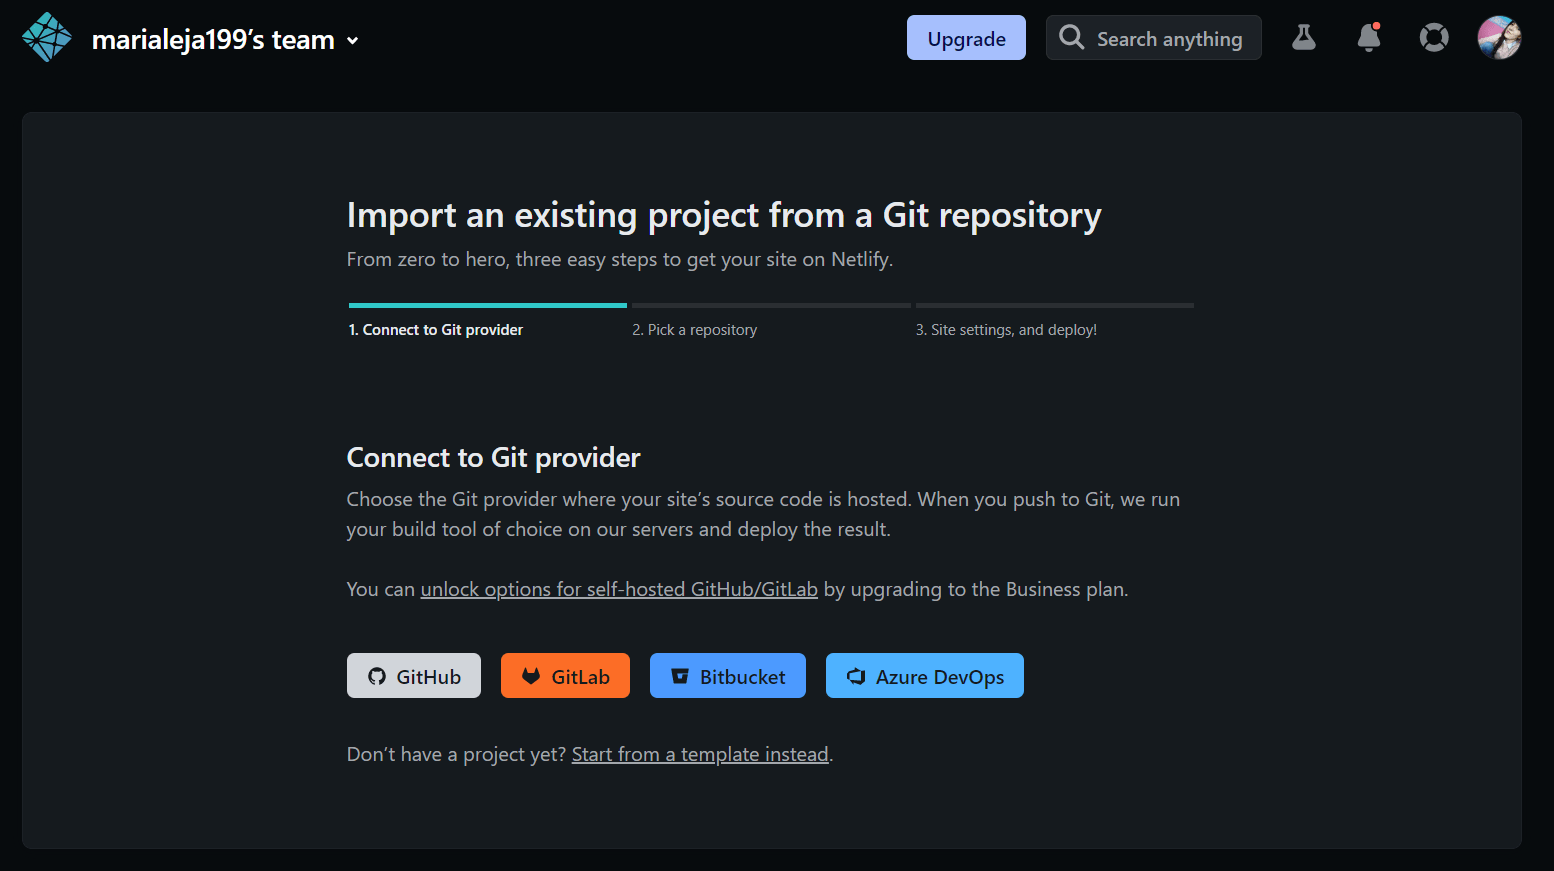
I chose hugo-profile since it has light and dark mode, tags for my blog posts, search engine and a minimalist, clean and responsive design. I cloned the repository into my GitHub and after creating an account on Netlify, I connected my GitHub account to choose the repository and set up my new blog. I changed the site name to have my custom url and customized the template to my preference.

Netlify takes changes from the Github repository and automatically applies them to my blog, so every time I commit and push to my repository, the changes show up on my site. This makes it very easy to manage my blog.

Another option is to start with a template directly from Netlify.
Now, with these simple steps I have a blog on the web ready to start writing about things I’m passionate about like “tiestos voladores” or flying stuff 🚀 ✈️.
How did I customize my blog?
To continue customizing my blog, from GitHub I opened my repository with GitHub Desktop and then with a code editor, such as Visual Studio Code, I started to configure the whole page. First, in exampleSite I edited the config.yaml file.

Adding comments and reactions to my articles
To add comments and reactions to blog posts I used Disqus, created an account and chose the free basic plan, configured it on my site and searched for the short name. In config.yaml I added my user in the disqusShortname line and added the following code.

In config.yaml I added my Shortname in the line disqusShortname:.
To configure Disqus, I added in exampleSite/layouts/_default/single.html the code found in Disqus when configuring the site, after the line {{ template “_internal/disqus.html” . }}

Adding Google Analytics
I added the Google Analytics measurement Id in the line googleAnalytics: G-MEASUREMENT_ID, after set up Analytics for a website and/or app.
In the exampleSite/layouts/partials/head.html file I replaced {{ template “_internal/google_analytics.html”}} with the code provided by Google Analytics in the Install Google tag manually. tab.
How do I add posts to my blog?
In the exampleSite/content/blogs folder I add a name.md file, a plain text document, in which symbols in the text define the formatting of certain sections. The .md files are written in Markdown language, which belong to the markup languages. These .md* files can be opened and edited with any text editor. I write my blog entries in Notion and I can export them in Markdown format. In Visual Studio Code you can also edit these files and view them, as shown in this tutorial.
The beginning of the file always looks like the following lines:
---
title: "Mi título"
date: 2023-01-23T23:29:21+05:30
draft: false
disqus: true
author: "Maria Alejandra Botero Botero"
tags:
  - Blog
  - Netlify
  -
image: /images/post.jpg
description: ""
toc:
---
Here I customize the title, author, date and tags. Also, I add an image to the blog post and choose if it’s a draft (draft: true) or a final version (draft: false).
Once I have my completed .md file ready, I just click commit on GitHub and push it. And so I have a new entry in my blog.
